You have found www.hamrx8.com
Copyright.... Website created & maintained by GHQP

Page Updated August 24, 2013
DUEL COLOUR LED STRIP EDGE LIT ACRYLIC LOGO
IN PROGRESS
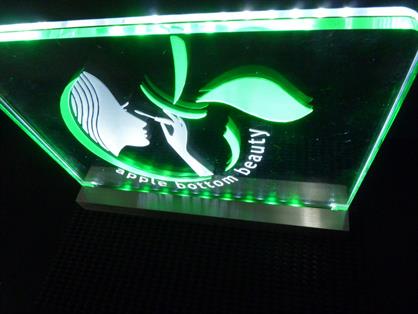
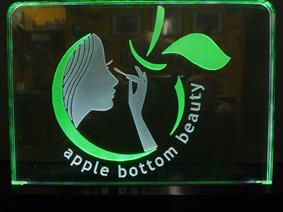
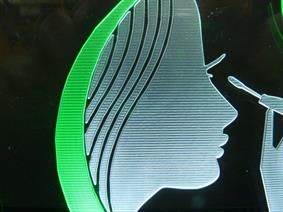
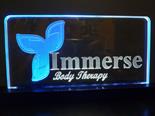
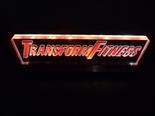
My latest creation, its a different take on the LED edge lit logos and name plates I have done in the past. This one use two different LED colour strips or more exact one colour and white. However any combination of colours could easily be used. The inspiration came from my Personal Trainer Jenna who wanted me to make something unique as a present for one of her friends. I had been thinking of doing something like this and just needed a reason to try it out. It took several goes before I got it looking as awesome as you can see from the images. For the colour part the LED strips I had used in the past were not quite good enough, I found a brighter strip on eBay that uses 5050 SMD LED's. Then there was the engraving tool and pattern so as to get an even spread of light. This is the beauty of CNC I was able to try various combinations of cutters, pattern and depths to get what you see now. They are very hard to photograph in a way to show the full impact but I think you will get the idea.
So this is how I made them, taking the apple bottom beauty logo on as an example.
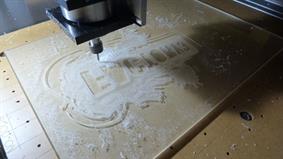
First I imported a bitmap image of the logo into VECTRIC Aspire, then I used Aspire to trace outlines for each of the 3 colours. This provided me with two separate vectors that I could then create cutting tool paths for. Important, both images need to be mirrored as they are viewed from the front non engraved surface. Selecting each vector I generated two sets of G-Code. I used a 0.5mm 2 flute ball nose end mill. The cutting path was a horizontal raster pattern finishing with a profile pass. The cutting depth was set to 0.7mm. In fact it could have been shallower probably 0.5mm would be ok. Also I set the tool to step at 50% per pass, giving a nice ripple effect to spread the light even over the engraved surface. This is the reason for using a ball nose end mill
I secure the acrylic sheets to the CNC Routers bed board using double sided carpet tape. It is the best tape I have yet to find for this purpose. It is also thick enough so as to set the router cutting depth when profiling the outside not to hit the MDF board, not that it would matter much if it did.
The acrylic for the front, what will be the green part of the logo is 6mm thick and the back acrylic white part of the logo is 4mm. One thing to note is that acrylic sheet thickness varies from batch to batch so you always need to measure it especially when setting the routing profile depth. In this case the 4mm was in fact 4.36. Next time I purchase some it might be for example be 3.95mm. Just thought it was worth mentioning this point.
Next job was to machine the aluminium base.
To do this I used my modified Shirline CNC Mill.
It is machined in multiple steps to create the through hole and other pockets to accommodate the LED strips and base insert.
To do this I used my modified Shirline CNC Mill.
It is machined in multiple steps to create the through hole and other pockets to accommodate the LED strips and base insert.
I anodized the base and coloured it black.
I won't go into any explanation about anodizing now as this is an entirely different subject. I plan to cover this on my website sometime in the future.
At the back of the base I drilled and tapped two M3 holes to take short M3 grub screws. These are used to secure the acrylic.
I won't go into any explanation about anodizing now as this is an entirely different subject. I plan to cover this on my website sometime in the future.
At the back of the base I drilled and tapped two M3 holes to take short M3 grub screws. These are used to secure the acrylic.
The base piece that the LED strips are stuck to is engraved and routed from 3mm black acrylic.
The LED strips the back being White and the front Green.
The base is secured with 5 M3 screws.
And there we are, the finished illuminated logo. Please click on the YouTube loge to see an 8+ minute video.
I trust that you have found this interesting.
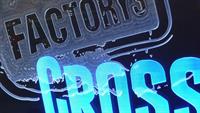
Some new designs recently completed. There will be more designs to come.

